Within your VIP program, you can tag your customers with their VIP tiers, allowing you to target customers more effectively using Shopify segments, discounts, and email flows.
Apply customer tags
How to apply VIP tags to your customers:
-
Head to your Program > VIP Program.
-
In Shopify customer tags, tick the box that says Tag customers with their VIP tier in Shopify.
-
Click save.
 When you activate the Shopify customer tag feature on the VIP tiers page, it will begin applying your customers' current tier as a tag. Depending on how many customers you have, this process can take some time. For example, 100,000 customers might take a few hours or more depending on your store plan. Plus customers will run faster than a standard store.
On the dashboard of the app, you can keep updated on the progress as a tasks card will appear under Recent Activities This provides a visual indicator of how long it will take and if there were any errors or skipped customers.
 Once finished and enabled, when a customer's VIP level changes, their tag will automatically update to reflect their new tier.
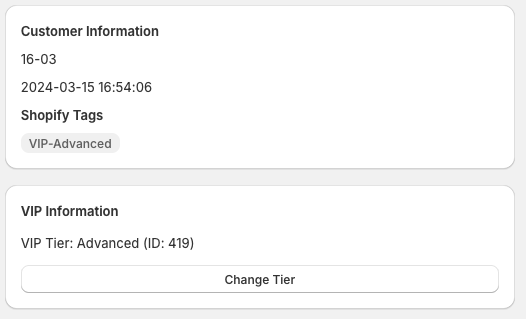
You can view a customer's VIP tier tag in their customer account within the app, or via Shopify customers detail page.
Removing customer tags
If you wish to remove the tags and stop the update, you can do the same process in reverse. Unticking the checkbox Tag customers with their VIP tier in Shopify will start the process to remove all the VIP tier tags from all your customers in Shopify.
You can view the progress in the same way as before on the homepage of the app.